OIM 11.1.2 R2: Installation of Connector Server
The connector server is the
Windows server. Before installing the Connector Server, ensure that .NET
Framework 3.5 or above is installed on the same server where we are installing
the Connector Server.
1.
Login on the
Windows server (as referred as Dot Net Connector server)
2.
Extract the
contents of the Connector Server package (Connector_Server_111210.zip) and
locate the ServiceInstall-1.4.0.0.msi file.
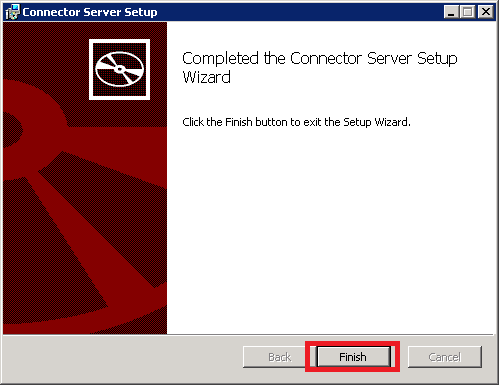
3.
Install the
Connector Server by running the ServiceInstall-1.4.0.0.msi file and following
the wizard. The wizard takes you through the installation process step-by-step.
After completion, the .NET Connector Server is registered as a Windows service.


4. Start the
Microsoft Services Console.
5.
If the .NET
Connector Server is running, stop it by stopping the Windows service named
Connector Server.
6.
To set a custom
key for the .NET Connector Server, use the /setkey command-line argument, as
follows:
a.
Change to the
directory where the .NET Connector Server was installed. The default directory
is:
C:\Program Files\Identity
Connectors\Connector Server
b.
Run the following
command:
ConnectorServer.exe /setkey NEW_KEY
In this command, NEW_KEY is the value for the new key. This key is required by any
client that connects to this .NET Connector Server.
7.
Check the
settings in the .NET Connector Server configuration file
(ConnectorServer.exe.config). These settings are in the element named
AppSettings. For example:
<add key="connectorserver.port"
value="8759" />
<add key="connectorserver.usessl"
value="false" />
<add key="connectorserver.certificatestorename"
value="ConnectorServerSSLCertificate" />
<add key="connectorserver.ifaddress"
value="0.0.0.0" />
Note: The most common settings you might want to change
are:
ü Port number: To change the port, set connectorserver.port to a
value other than 8759 (If require in Production. For example: port enablement
or Firewall issue).
Note: This port
should be accessible from OIM server (Firewall opened)
ü SSL
settings: To use SSL, set
connectorserver.usessl to true and
then set connectorserver.certificatestorename to your certificate store name.
(If the SSL is implemented)
8.
Save the
following configuration information from the .NET Connector Server
installation. This information must be specified while configuring the IT
resource for the Connector Server:
ü Host name or IP address
ü Connector Server port
ü Connector Server key values
ü Whether SSL is enabled
9.
Restart Connector
Server by restarting the Windows service.

